


We hope the rack-mounting installation guide for the Phenyx Pro systems was useful to you! Many customers ask us how to front-mount the antenna on a standard 19-inch rack using our antenna kits. Therefore, we have prepared a series of tutorial videos to provide step-by-step guidance. This article is the first in the series.

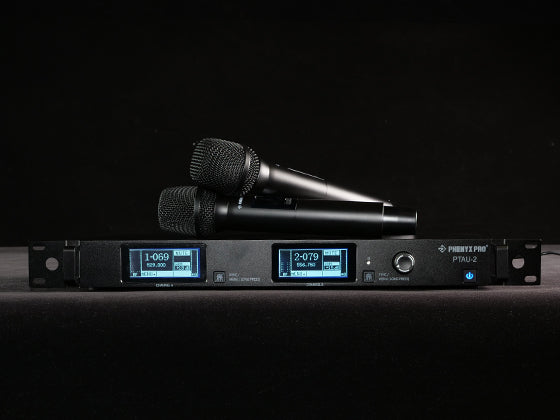
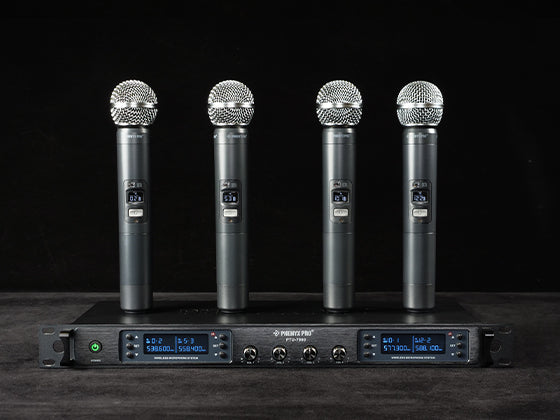
Phenyx Pro PTU-5000A equip with built-in rack ears. This article applies to all systems designed with built-in rack ears with two antennas at the back: PTU-4000/5000 series.
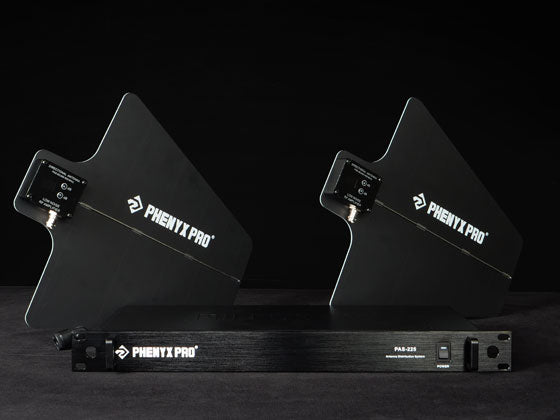
To front mount the PTU-5000A, you will need to purchase the following antenna kit:
Phenyx Pro BNC/TNC Connecting Cables
STEP ONE
Connect the extension cables to the PTU-5000A. To facilitate the subsequent installation, we usually connect the extension cables and the receiver together first. Please note that users should confirm the antenna connectors (TNC/BNC) before purchasing.
STEP TWO
Use a small (micro) screwdriver to mount the PTU-5000A on the rack mount case using the screw nuts included in the antenna kit.

STEP THREE
Connect the antenna to the extension cable.

Now your microphone can enjoy unobstructed signal reception!
If you need any help or advice on installing the Phenyx Pro BNC/TNC connecting cables, please contact support@phenyx.com. We are always here to help.