

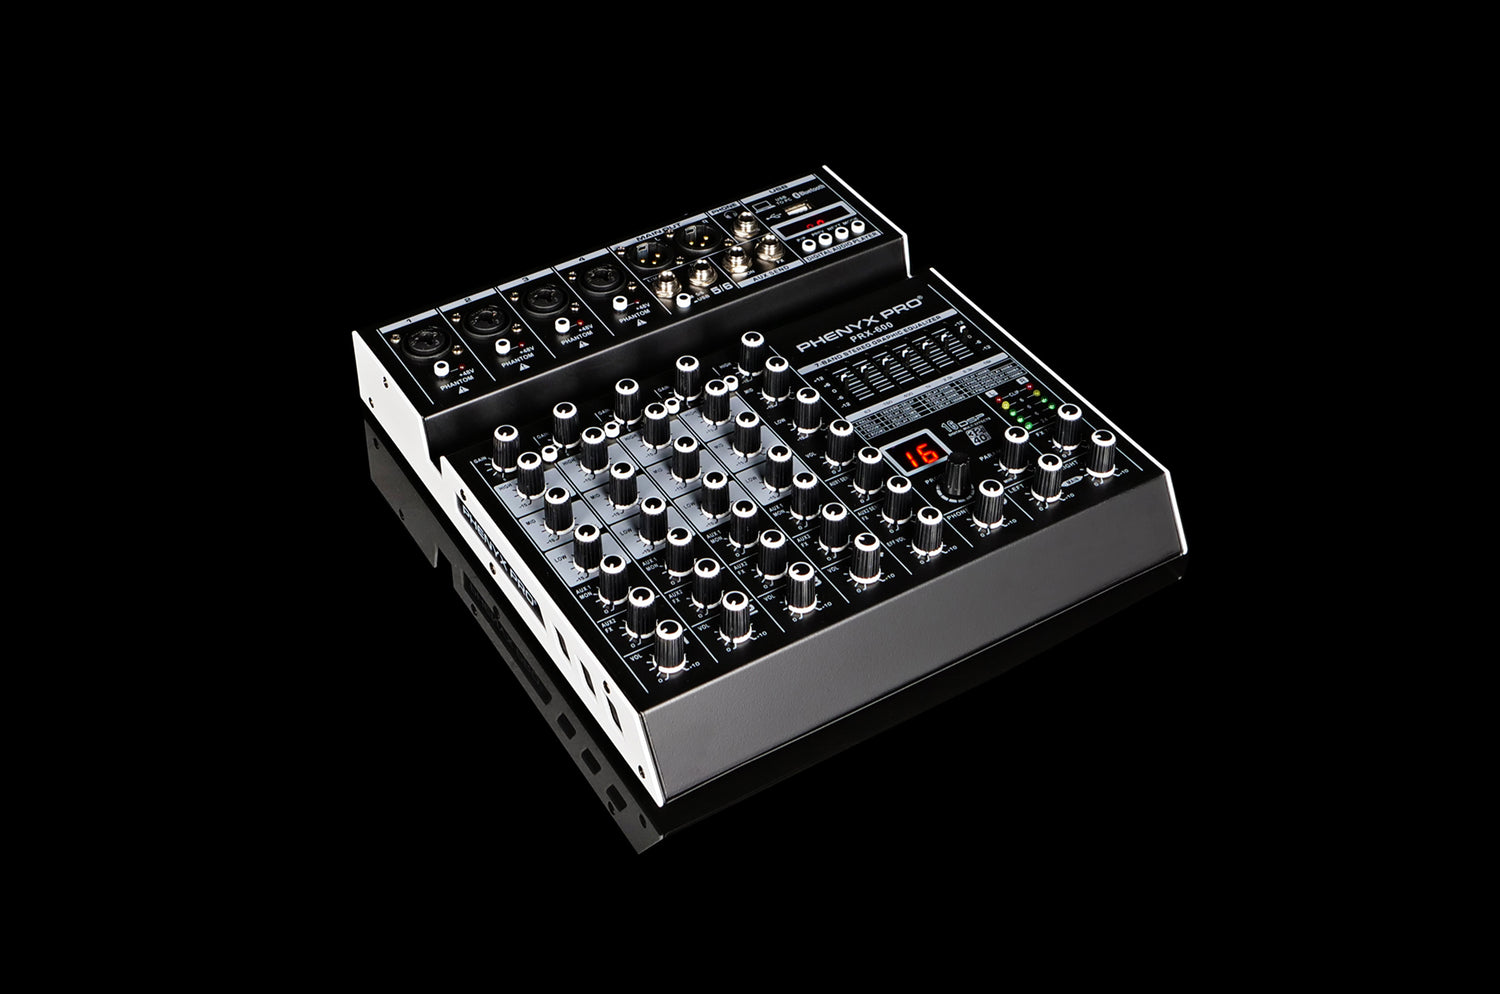
We have covered the Bluetooth function (check it out HERE) and the USB function (check it out HERE) of the Phenyx Pro PRX-600 audio mixer in other blog posts. In this article, we are going to introduce the PC recording function. The built-in USB audio interface enables users to record to computers, iPads, and smartphones with compatible adapters.
1- HOW TO RECORD AUDIO TO YOUR COMPUTER VIA PRX-600
STEP ONE
Plug in the power adapter and then turn on the mixer. Do not forget to press the USB switch under the 5 & 6 (fifth & sixth) channel inputs.
STEP TWO
Use a USB to USB cable to connect the mixer to your PC. It is important to know that you cannot use the Bluetooth and the PC function simultaneously. The LCD screen will show "PC" if the connection is successful.
STEP THREE
Open Audacity or other recording software you prefer and select the mixer as an audio input device. For Audacity, please find the microphone icon and select the mixer in the drop-down menu. If you want to monitor the recorded audio through the mixer, please select the mixer as an output device in the speaker icon.
STEP FOUR
Select "Track", and click "Add New", and then press the red dot to start recording. Please note that the PRX-600 will mix all the inputs and record it as a single track (mono or stereo) in the software. It does not allow multitrack recording and mixing.
STEP FIVE
Click "File", and "Save Project" to save your recording.
You can also record audio to iPads and smartphones with compatible multifunctional adapters and monitor the audio through phone output.
2 - HOW TO RECORD AUDIO TO IPAD/SMARTPHONES VIA PRX-600
STEP ONE
Use the adapter and the USB-to-USB cable to connect your devices to the mixer. Please connect the USB cable to the adapter first. The LCD screen on the mixer will also show "PC" to indicate successful connections.
STEP TWO
Open any recording software and start recording. You can add some personality to your mix by adjusting the EQ, gains, or 99 DSP effects. Now, the P/P button can only be used to finish the recording with a short press. The pause function is disabled during recording. So are the previous and next functions. You can also end the recording by using the control button in the software.
STEP THREE
Playback and monitor your recorded audio through the phone output. You can adjust the volume of the recorded audio via this PHONE volume knob. You can also use the P/P button to pause and play your recorded audio.

We have also created a tutorial video to walk you through the process. Check it out now!