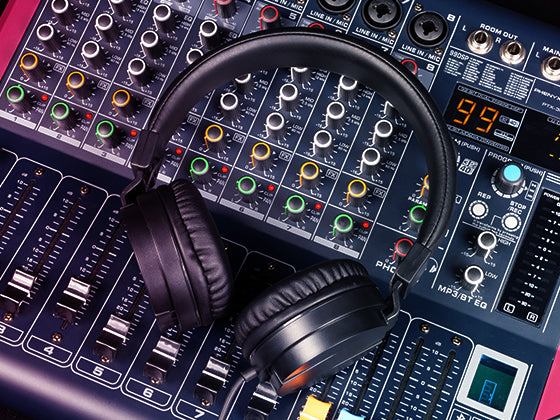
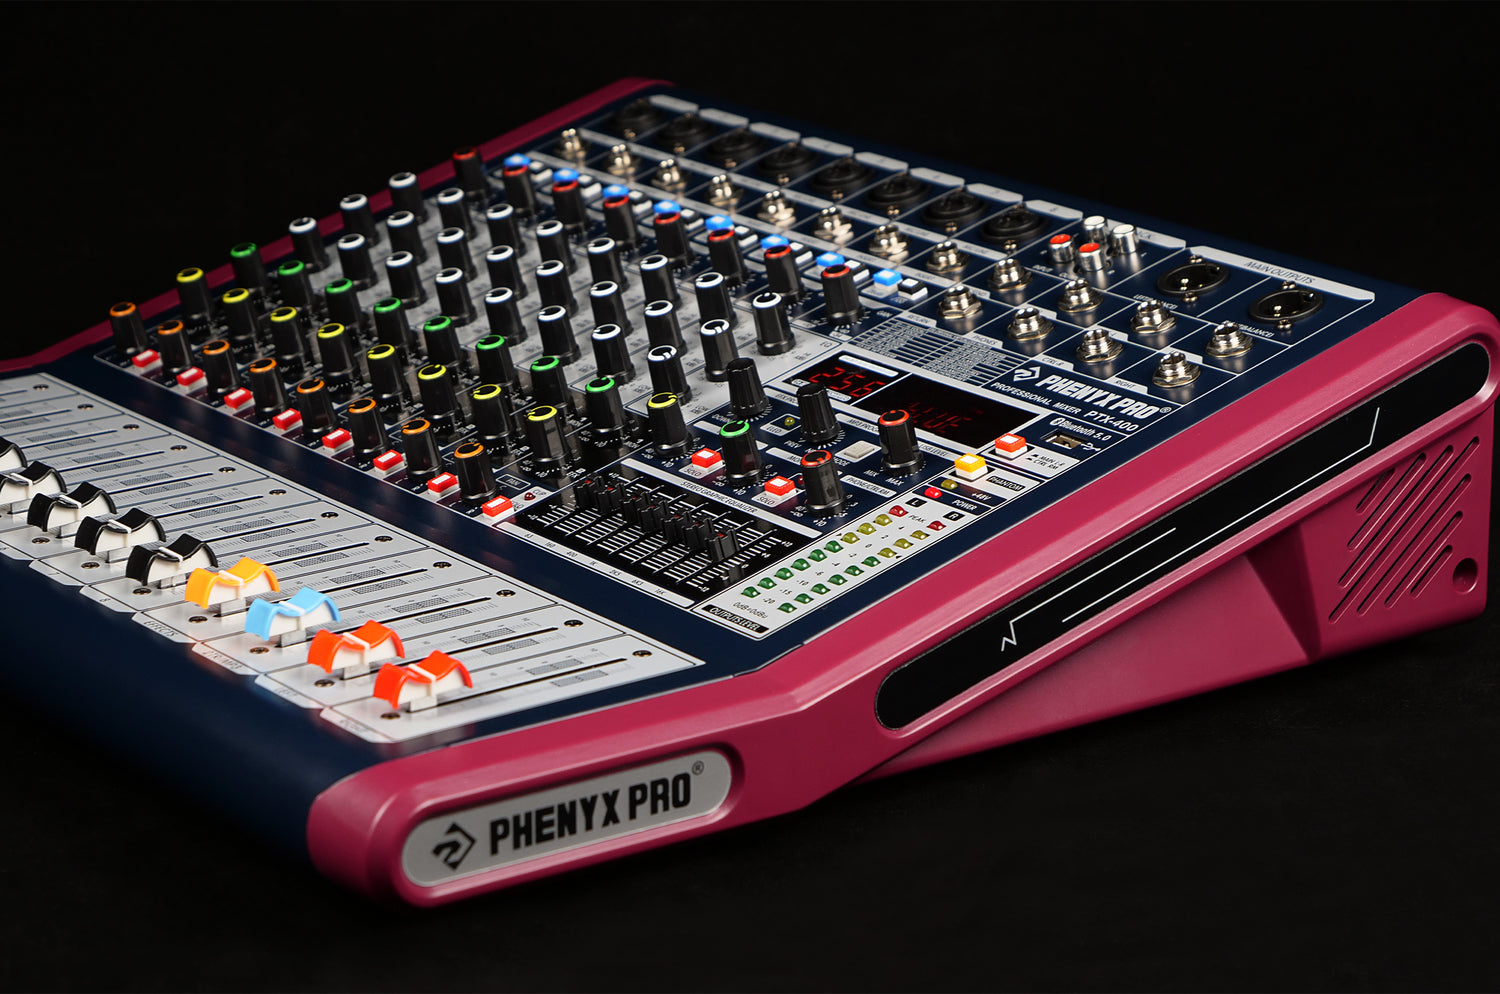
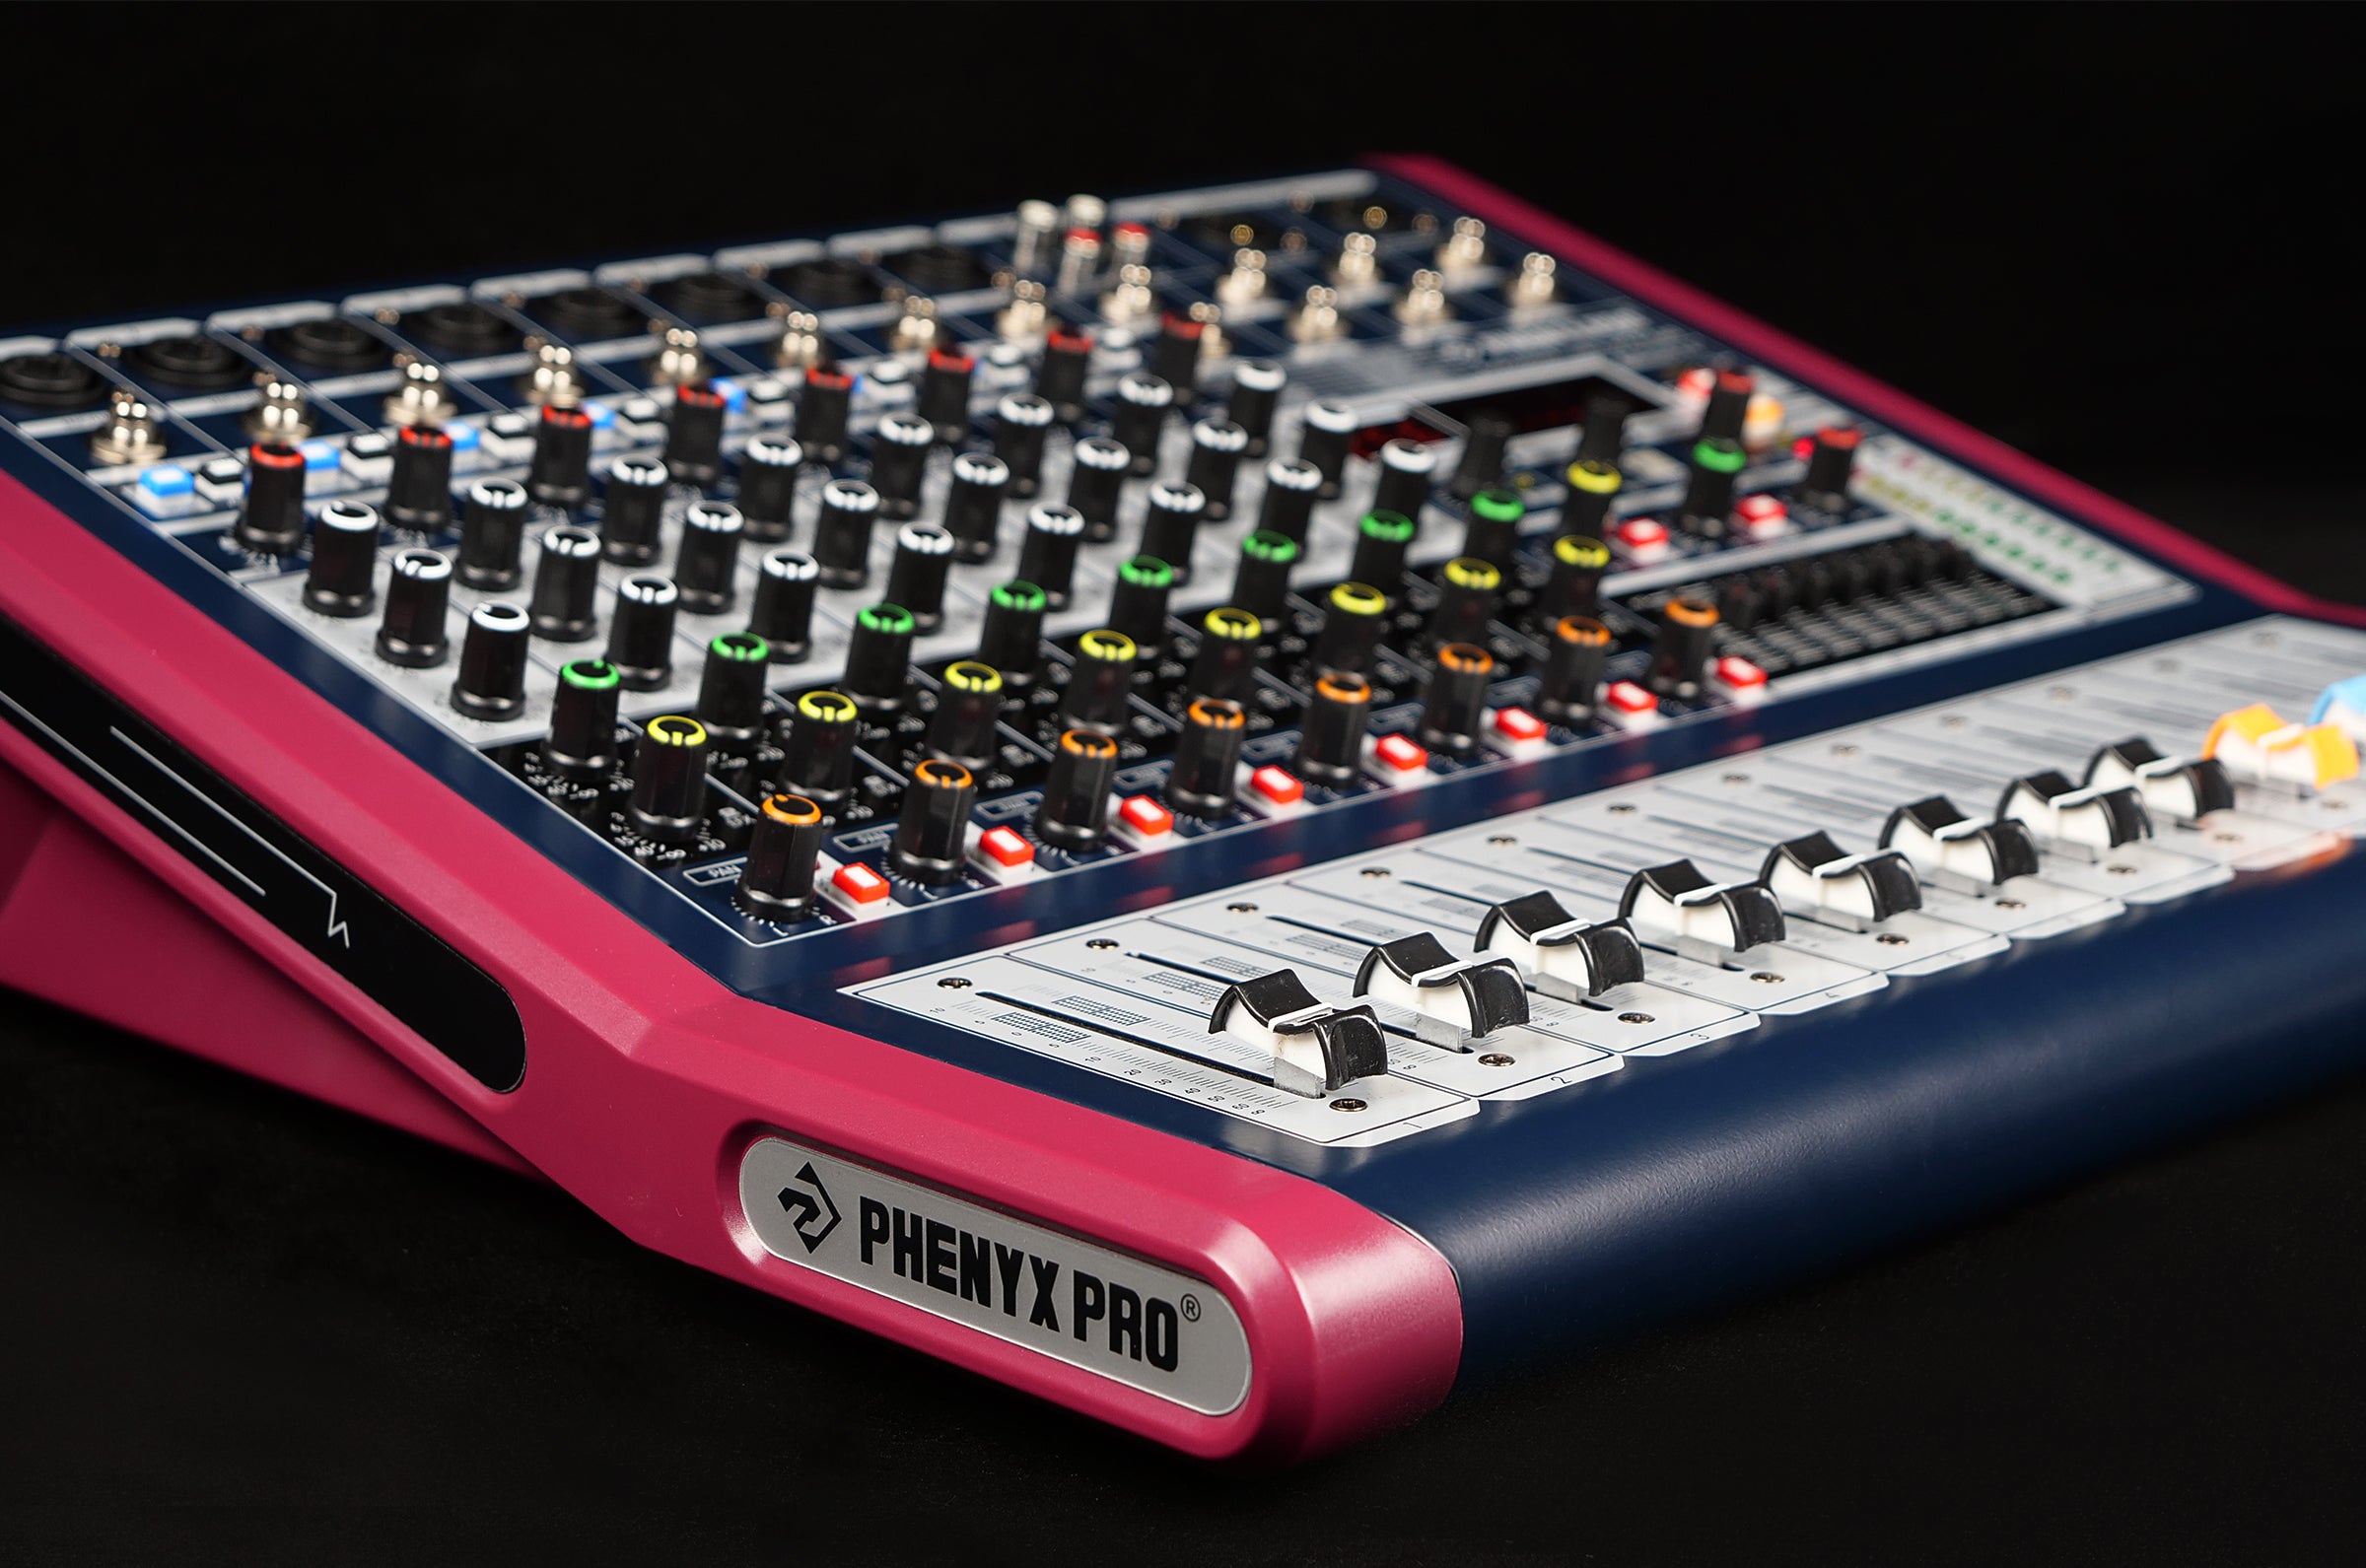
Hemos cubierto la función Bluetooth (consulte AQUÍ ) y la función USB (consulte AQUÍ ) del mezclador de audio Phenyx Pro PRX-400 en otras publicaciones del blog. La interfaz de audio USB integrada en ambos PTX-400 permite a los usuarios utilizar la función de PC para grabar. Esta función admite el uso de computadoras, iPads y teléfonos inteligentes con adaptadores compatibles.
También hemos añadido un conector de grabación USB 2.0 adicional en el panel trasero del mezclador para habilitar la función Bluetooth y la función de grabación al mismo tiempo. En este artículo, le mostraremos cómo grabar audio en su computadora, iPad y teléfono inteligente mediante PTX-400.
1- CÓMO GRABAR AUDIO EN TU COMPUTADORA MEDIANTE PTX-400.
PASO UNO
Enchufe el adaptador de corriente, conecte sus fuentes de entrada de señal y luego encienda el mezclador.
SEGUNDO PASO
Utilice un cable USB a USB para conectar el mezclador a su PC. La pantalla LCD mostrará "PC" si la conexión se realiza correctamente.
PASO TRES
Puede abrir Audacity u otro software de grabación que prefiera y seleccionar el mezclador como dispositivo de entrada de audio. Para Audacity, busque el ícono del micrófono y seleccione el mezclador en el menú desplegable. Si desea monitorear el audio grabado a través del mezclador, seleccione el mezclador como dispositivo de salida en el ícono del altavoz.
PASO CUATRO
Seleccione "Pista", haga clic en "Agregar nuevo" y presione el punto rojo para comenzar a grabar. Tenga en cuenta que el PTX-400 mezclará todas las entradas y las grabará como una sola pista (mono o estéreo) en el software. No permite grabación ni mezcla multipista.
PASO CINCO
Puede hacer clic en "Archivo" y "Guardar proyecto" para guardar su grabación.
2 - CÓMO GRABAR AUDIO EN IPAD/SMARTPHONES MEDIANTE PTX-400.
PASO UNO
Utilice el adaptador y el cable USB a USB para conectar sus dispositivos al mezclador. Primero conecte el cable USB al adaptador. La pantalla LCD del mezclador también mostrará "PC" para indicar conexiones exitosas.
SEGUNDO PASO
Abra cualquier software de grabación y comience a grabar. Puedes agregar algo de personalidad a tu mezcla ajustando el ecualizador, las ganancias o los 99 efectos DSP.
Ahora, la perilla de programa ANTERIOR/SIGUIENTE solo se puede usar para finalizar la grabación con una presión breve. Las funciones de pausa, anterior y siguiente están desactivadas durante la grabación. Por supuesto, también puede finalizar la grabación utilizando el botón de control del software.
Reproduzca y monitoree su audio grabado a través de la salida del teléfono. Es fácil ajustar el volumen y el ecualizador del audio grabado mediante estos mandos y atenuadores.
PASO TRES
Haga clic en "Archivo" y "Guardar proyecto" para guardar su grabación.
Es importante saber que no puede utilizar la función Bluetooth y la función de grabación USB simultáneamente a través de la interfaz de audio USB.
Sin embargo, ahora hemos agregado un conector de grabación USB 2.0 adicional en el panel posterior del mezclador para habilitar la función Bluetooth y la función de grabación al mismo tiempo. Puede transmitir su música favorita desde su teléfono inteligente o iPad y luego grabarla en su computadora a través del conector USB 2.0 usando un cable USB-A a USB-A. Puede ofrecer una calidad de sonido de grabación profesional con una frecuencia de muestreo de 192 kHz/24 bits.
Y luego, puedes transmitir, grabar e incluso procesar la música utilizando algún software útil como "Audacity", "Adobe Audition", "Cakewalk Sonar", "Sound Forage", etc.
Si desea ajustar el volumen, ajuste la perilla NIVEL USB para aumentar/disminuir el nivel de volumen.
También hemos creado un vídeo tutorial para guiarle a través del proceso. ¡Échale un vistazo ahora!

